Furality Video Player Stream Issues
When entering Club FYNN, panel, Dealer's Den, or other events that involve a video player, nothing loads on screen or throws an error message. A majority of these fixes take into account some knowledge with changing settings either on a headset or on a computer.
Written By Zerian Zinaris
Last updated 1 day ago
Still need support beyond what's in this article?
Please visit our Help Forum on the community Discord for more support
Our guest experience team members are available to help answer your questions year-round!
We are aware of multiple issues related to video playback.
If you are using Linux, we recommend using the custom Proton build available here as it fixes most issue regarding video playback: https://github.com/SpookySkeletons/proton-ge-rtsp
Please double check your connection! You can check your connectivity to the stream services by opening up a command prompt and typing in two commands:
nslookup stream.furality.online
If either of these fail or your ping is higher than 250 milliseconds (ms), your connection is not stable enough to support the stream which is playing consistently and may appear choppy or otherwise not play at all. You will want to attempt to find a better space closer to your wireless router or connect via cable for your PC to improve this.
If you are on Windows and still experiencing issues, we suggest trying to change your DNS settings to CloudFlare's
1.1.1.1/1.0.0.1or to Quad9's9.9.9.9 / 149.112.112.112.
We will update this post as soon as there is new information regarding a potential fix
Easy Troubleshooting
Verifying that Untrusted URL’s is Turned ON
Settings -> Comfort and Safety -> Allow Untrusted URLs
Without this enabled, no videos will load at our events. You will need to rejoin the instance in order for this to correct the playback issues.
Reload your Instance
Sometimes reloading your instance may fix video loading errors.
Clear your VRChat Cache
Navigate to Settings → Debug → Clear Content Cache
This will clear the content that has been cached on your VRChat instance. Be aware that this will force you to re-download any avatars or worlds that you had previously already downloaded.
Turn off any VPN’s, Proxies, or AdBlocking Software
If you run any sort of VPN, Proxies, or AdBlocking software such as NordVPN, Proton VPN, or other services that could otherwise interfere with network traffic, it is recommended to turn it off while attending Furality events and panels.
Advanced Troubleshooting
These are more complicated troubleshooting steps that may require knowledge of a computer or modifications to its settings and physical access to your network equipment
Change DNS Settings
Hold down Ctrl+R to bring up a run dialog box and type “ncpa.cpl” into the dialog box.
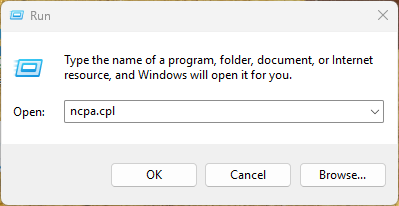
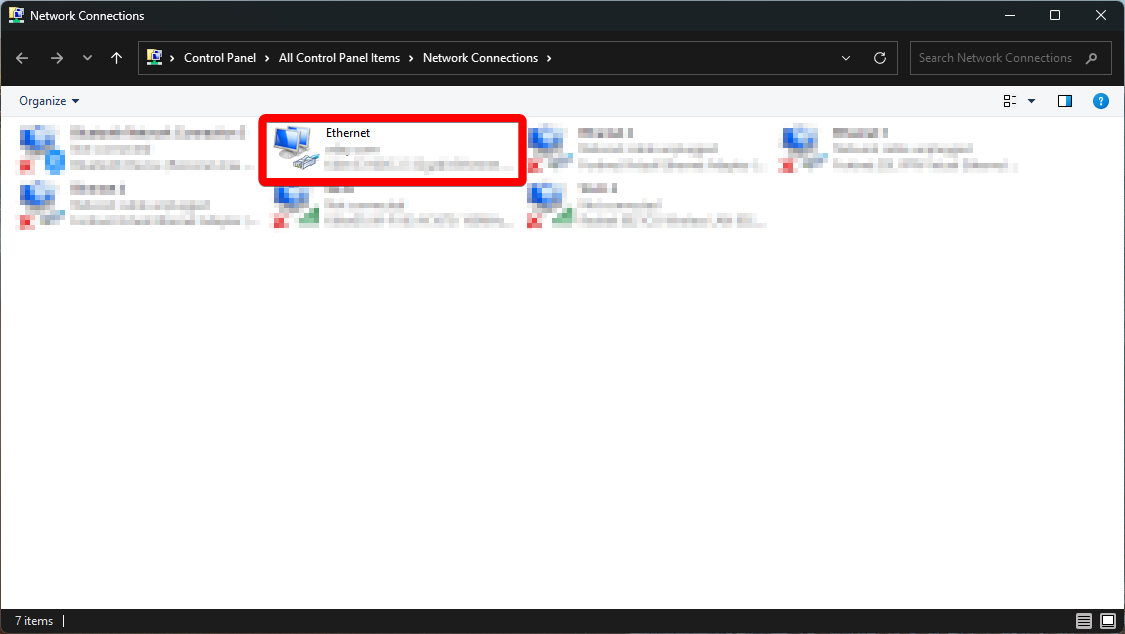
You will be brought to your Network Connections tab on your computer. Find the main connection you are using, and double click it. It will usually be called “Ethernet” (if on a wired connection) or “Wi-Fi” (if on a wireless connection)
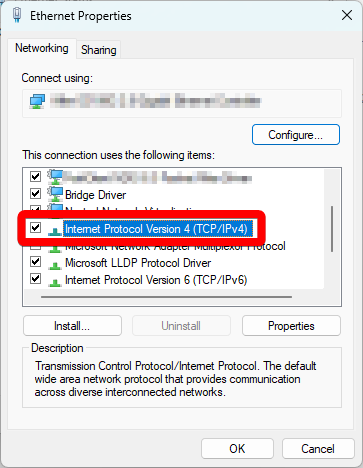
Locate “Properties”
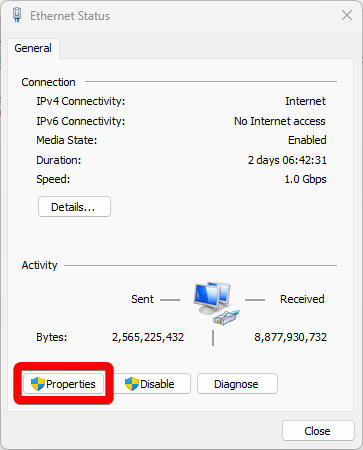
Double Click on “Internet Protocol Version 4 (TCP/IPv4)
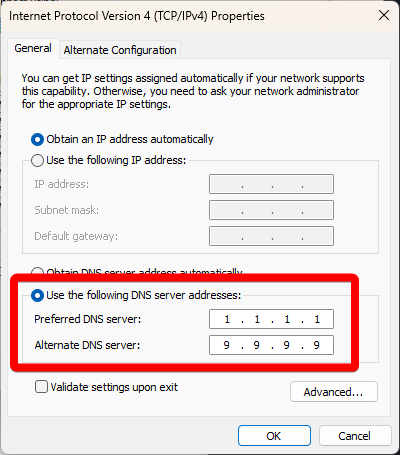
Select “Use the following DNS server addresses”, and try the following in order:
Cloudflare: Preferred DNS server: 1.1.1.1, Alternate DNS server: 1.0.0.1
Quad9: Preferred DNS server: 9.9.9.9, 149.112.112.112
OpenDNS: Preferred DNS server: 208.67.222.222, Alternate DNS server: 208.67.220.220
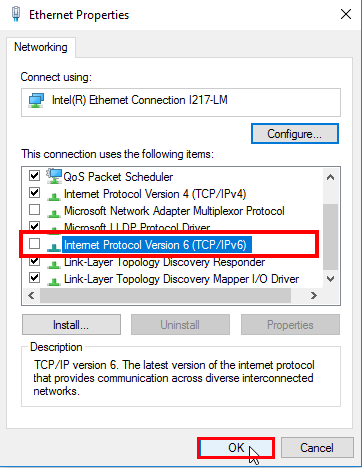
Turn off IPv6
Follow the above steps up to where you would normally change the IPv4 settings
Find the ‘Internet Protocol Version 6 (TCP/IPv6)’ option
Uncheck the tick-box to the left of the ‘Internet Protocol Version 6 (TCP/IPv6)’ option
Restart your Network Equipment
While all pieces of equipment may be different, doing a power cycle on your network equipment can always be a good troubleshooting step to perform. For most, you will recognize your equipment as one of three devices (or a combination of them!):
Router - Usually has antennas, a USB plugin, and ethernet ports
Modem - Usually only has one ethernet port, and is provided to you by your Internet Service Provider (ISP). Sometimes doubles as a router if it has an antenna
Firewall - A complex network device that is very rarely used in home setups
Unplugging any one of these for approximately 30 seconds will perform a power cycle, before being plugged back in and being allowed to boot back up.
Complex Troubleshooting
These troubleshooting steps will require more knowledge of networking topics, familiarity with your equipment and setup, and major modifications to your network. These should be used as a last resort!
Change DNS on Networking Equipment
You will need to follow your equipment manufacturer’s instructions on how to change the DNS settings within your router/modem/firewall. You will want to change the DNS settings to the one from the “Change DNS Settings” article.
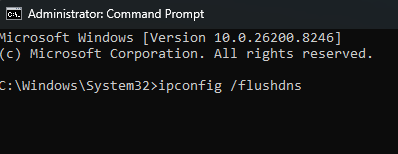
Renew your IP Lease, and Flush DNS
Open up Command Prompt, and renew your IP Lease using ‘ipconfig /renew’
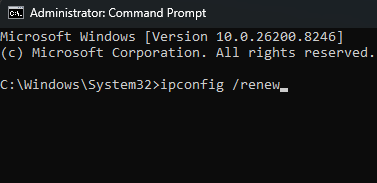
Follow this up with ‘ipconfig /flushdns’
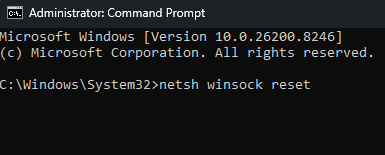
Netsh Winsock Reset
A very rare fix. Open Command Prompt from your start menu as an Administrator.
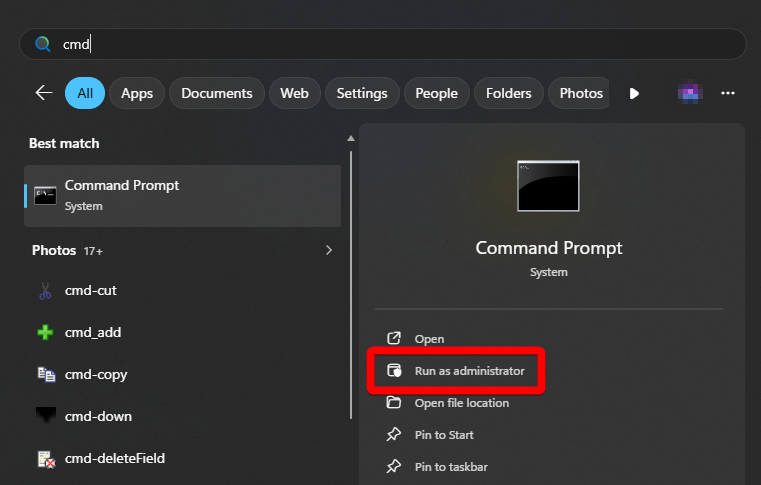
Run the command ‘netsh winsock reset’ within the terminal.